
Spray Tan Prep: How to Prep for a Spray Tan (and How Pros Prep Every Client)
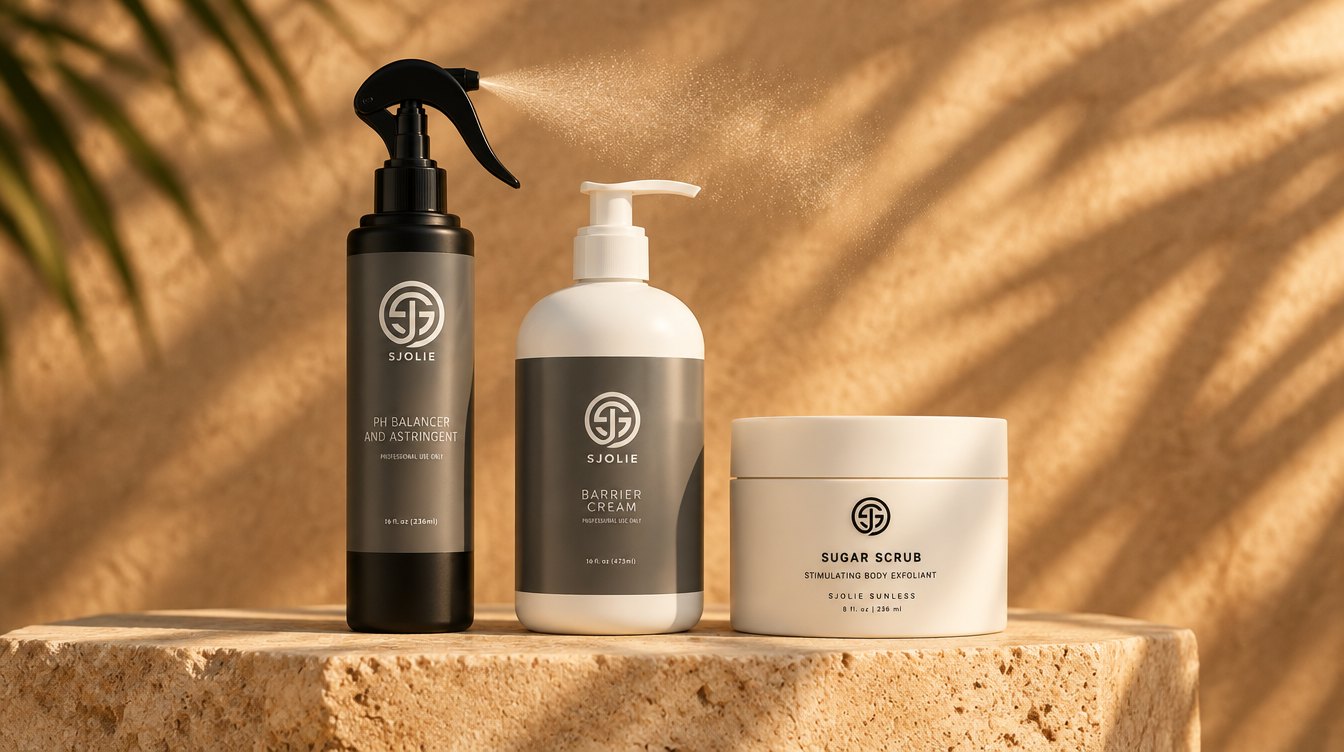
GREAT TANS START BEFORE THE FIRST SPRAY
An even, natural spray tan depends as much on prep as on the solution. Here’s what to do 48 hours before, the day before and the day of your appointment, and the in-room steps professional spray tan artists use on every client.
Spray tan prep at a glance
The short answer: book waxing and facials at least 48 hours ahead, exfoliate with an oil-free scrub and shave the day before, and arrive with clean, bare skin: no lotion, deodorant, makeup or perfume. In the room, your artist balances your skin with pH Balancer and puts Barrier Cream on dry spots before spraying.
- 48 hours before
Wax and treatments
Finish waxing, facials and any treatment that leaves skin sensitive.
- 24 hours before
Exfoliate, then shave
Oil-free scrub on damp skin, extra time on knees, elbows, ankles and feet. Shave after.
- Day of
Clean, bare skin
Shower a few hours before. Skip lotion, deodorant, makeup and perfume. Wear dark, loose clothes.
- In the room
pH balance and barrier
Your artist mists pH Balancer, dries your skin, then applies Barrier Cream to dry spots.
- After
Let it develop
8 hours before your first rinse, or 1 to 5 hours with a Rapid solution.
48 hours before your spray tan
Anything that leaves skin tender, freshly treated or coated in product should happen at least two days before your appointment. Waxing and facials top the list: skin needs time to calm down so the color develops evenly instead of grabbing in irritated spots.
Get manicures and pedicures done before the tan, too, so a soak at the salon doesn’t strip color from your hands and feet. And if the tan is for a wedding or event, book it for two days before the big day. That gives the color time to develop fully and settle into a natural finish for photos.
24 hours before: exfoliate, then shave
Exfoliating removes the dry, dead skin cells that would otherwise soak up extra solution and flake off unevenly. Do it the day before, not the day of, so your skin has time to settle.
- Shower with warm water to soften your skin.
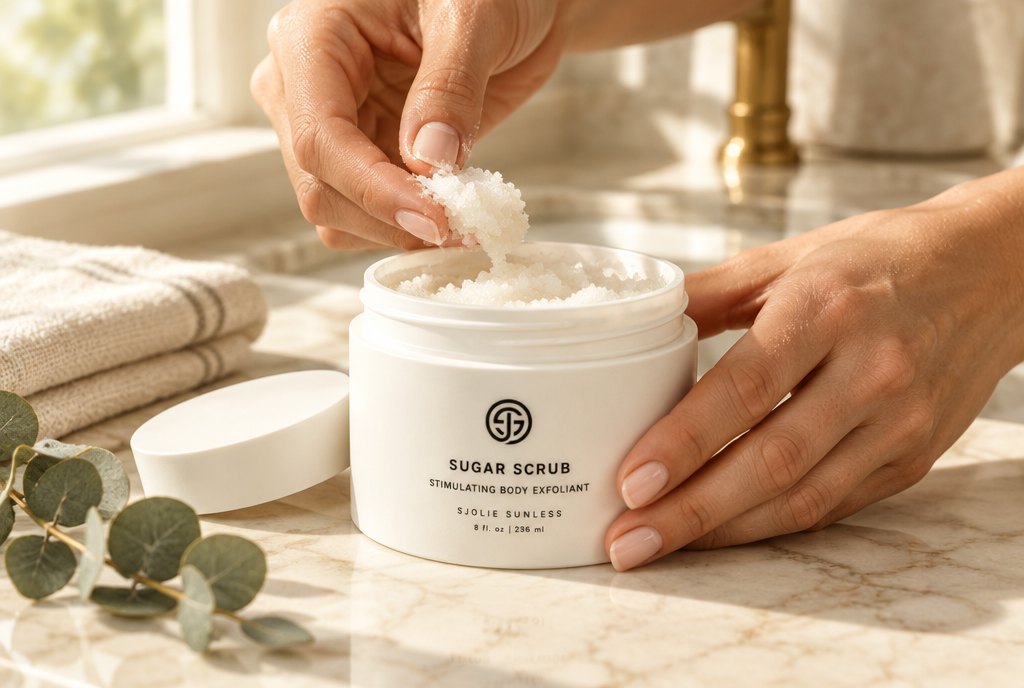
- Massage SJOLIE Sugar Scrub onto damp skin in small circles, with extra time on knees, elbows, ankles and feet.
- Rinse thoroughly and pat dry.
- Shave after you exfoliate, so the razor glides over smooth skin.
Choose an oil-free scrub. Oils left on the skin can keep DHA from developing evenly. SJOLIE Sugar Scrub has four ingredients and no oils or fragrance, and it is safe for face and body.
The day of your spray tan
Arrive with skin that’s clean, dry and bare. Anything sitting on the surface can block the solution or change how the color develops.
Do
- Shower a few hours before with lukewarm water and a gentle cleanser.
- Wear dark, loose clothing and slip-on shoes.
- Bring a hair tie or clip to keep hair off your neck and shoulders.
- Tell your artist about any skin sensitivities before you’re sprayed.
Skip
- Lotion, body oil and self-tanner.
- Deodorant and antiperspirant.
- Makeup and perfume.
- Tight clothing, waistbands and bra straps that press into skin.
Dry skin? Hydrate in the days before with a spray tan safe moisturizer, then stop the night before.
In the spray room: how pros prep every client
This is the part most prep guides skip. A professional prep routine takes a couple of minutes, and it decides how evenly the color develops and fades.
Step 1
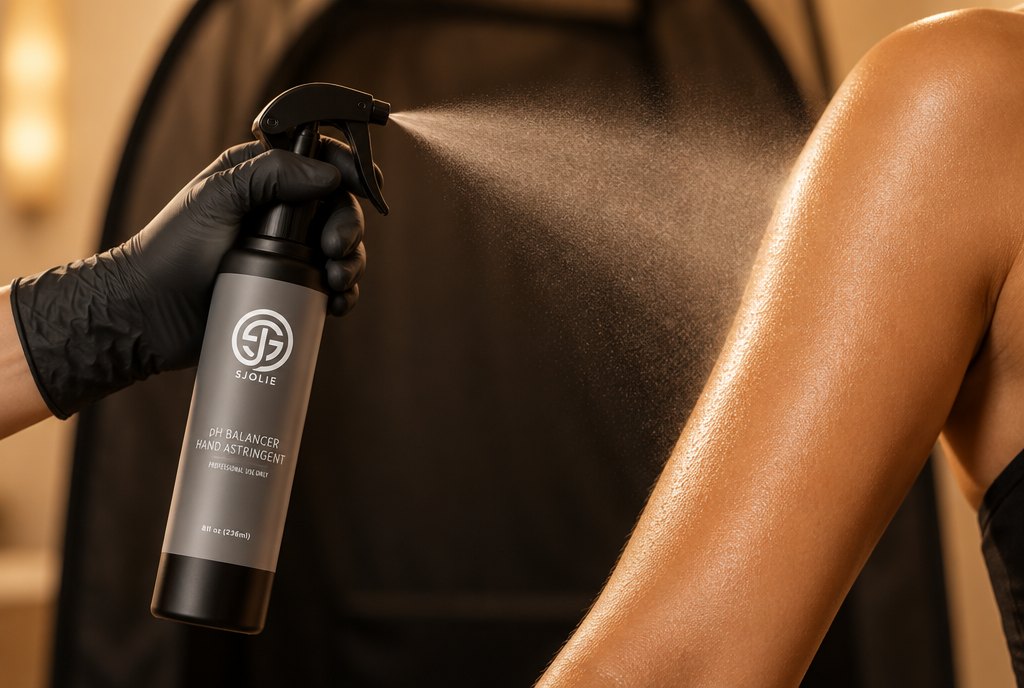
pH Balancer goes on first
Your artist mists or saturates your skin with SJOLIE pH Balancer Prep Spray. It’s a moisture-enhancing astringent that lifts dirt, daily buildup and product residue, and it balances your skin’s pH so DHA develops evenly. It’s fragrance-free and safe for face and body, including sensitive skin.
Artist tip: you can pour pH Balancer into the HVLP cup and mist it with your gun. Use a fresh cup, or rinse the cup and gun, before you switch to solution.
Steps 2 and 3
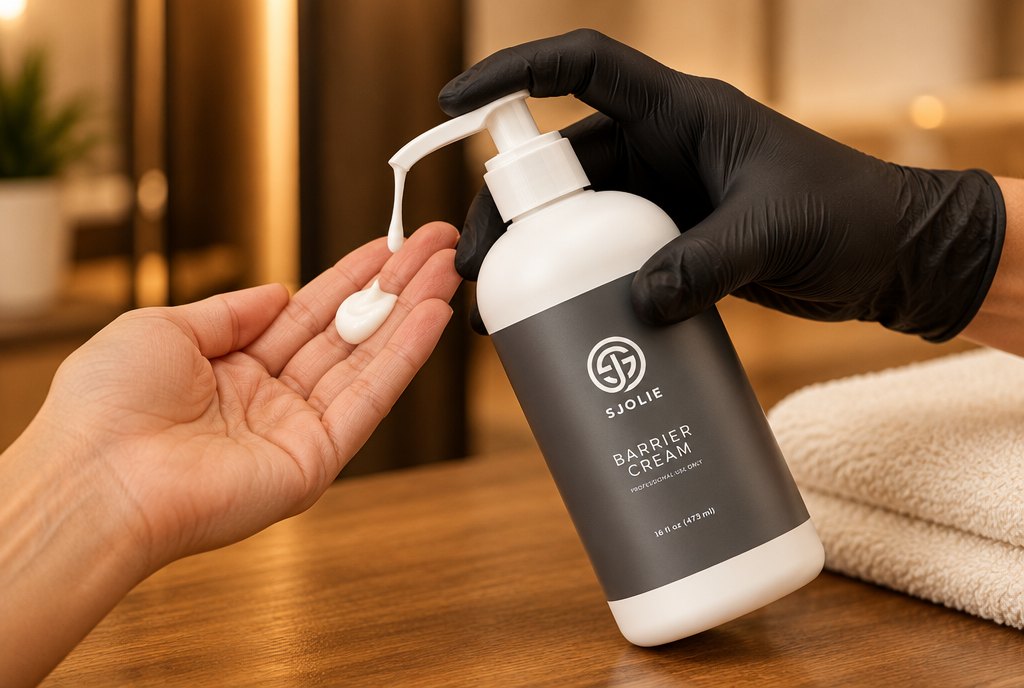
Dry the skin, then Barrier Cream
Excess pH Balancer is blotted off with a clean hand towel, and your skin is dried with air from the spray hose. Then your artist applies SJOLIE Barrier Cream to the spots that tan too dark: a visibly thick layer on cuticles, palms and soles, and a thin layer on elbows, knees and ankles for dry or mature skin.
It’s lightweight and non-greasy, made with aloe vera, shea butter and safflower seed oil, and fragrance-free.
Where to put barrier cream for a spray tan
Barrier Cream goes only where skin is dry, rough or calloused, because those spots absorb more DHA and turn darker than the rest of the body. Your artist applies it and wipes it off with a clean towel when the spray is done. It never goes over the whole body, where it would block the tan.
| Area | How much | Why |
|---|---|---|
| Cuticles and nail beds | Visibly thick | Keeps color from collecting around the nails |
| Palms | Visibly thick | Palms should stay tan-free |
| Soles of the feet | Visibly thick | Prevents dark, stained soles |
| Elbows | Thin, for dry or mature skin | Dry skin soaks up extra solution and can go darker |
| Knees | Thin, for dry or mature skin | Softens color on creases and rough patches |
| Ankles | Thin, for dry or mature skin | Blends the transition into the feet |
Spray tan prep by skin type
Oily or acne-prone
Surface oil can make color develop unevenly. Wash with a gentle, oil-free cleanser on the day, and your artist’s pH Balancer step lifts the residue that’s left.
Dry or mature
Dry patches soak up more solution. Exfoliate gently the day before, hydrate in the days leading up, and expect a thin layer of Barrier Cream on elbows, knees and ankles.
Sensitive
Tell your artist before you’re sprayed. pH Balancer and Barrier Cream are fragrance-free, and SJOLIE solutions have no added fragrance. Unsure about a product? Ask for a patch test first.
Development time and your first rinse
Good prep only pays off if the color gets time to develop. SJOLIE Original, Luxe and Clear solutions develop for 8 hours before your first rinse. Rapid solutions let you rinse after 1 to 5 hours: sooner for a lighter tan, later for a deeper one. Either way, the color keeps developing for up to 24 hours.
Keep that first rinse short and lukewarm. Our guides to how long to wait before you shower and spray tan aftercare cover the week after.
What not to do before a spray tan
| Mistake | What happens | Do this instead |
|---|---|---|
| Exfoliating right before the tan | Freshly scrubbed skin can be irritated and take color unevenly | Exfoliate the day before |
| Shaving right before the tan | Fresh shaving can leave skin irritated and grab extra color around hair follicles | Shave about 24 hours before |
| Waxing the same week | Tender skin can develop color unevenly | Wax at least 48 hours before |
| Lotion, oil or deodorant on the day | A film on the skin blocks DHA and leaves patchy color | Arrive with clean, bare skin |
| Tight clothes afterward | Rubbing and creases while the color develops | Wear dark, loose clothing |
| Rinsing too soon | Washes away color before it has developed | Wait 8 hours, or 1 to 5 hours for Rapid |
Spray tan prep questions, answered
Not on the day. Lotion leaves a film that can make the color develop unevenly. Hydrate in the days before with a spray tan safe moisturizer, stop the night before, and arrive with clean, bare skin. Very dry spots get a thin layer of Barrier Cream from your artist instead.
Make prep part of every appointment
- Send prep instructions about 48 hours ahead. The Prep and Care rack cards put prep and aftercare tips in your client’s hand.
- Keep pH Balancer and Barrier Cream at every station. An 8 oz pH Balancer covers about 30 clients, and a 16 oz Barrier Cream about 60.
- Offer Sugar Scrub at checkout, so clients prep right for their next appointment.
- Summer tip: keep pH Balancer in the fridge for a cool, refreshing mist.