
How to clean your Spray Tan Gun
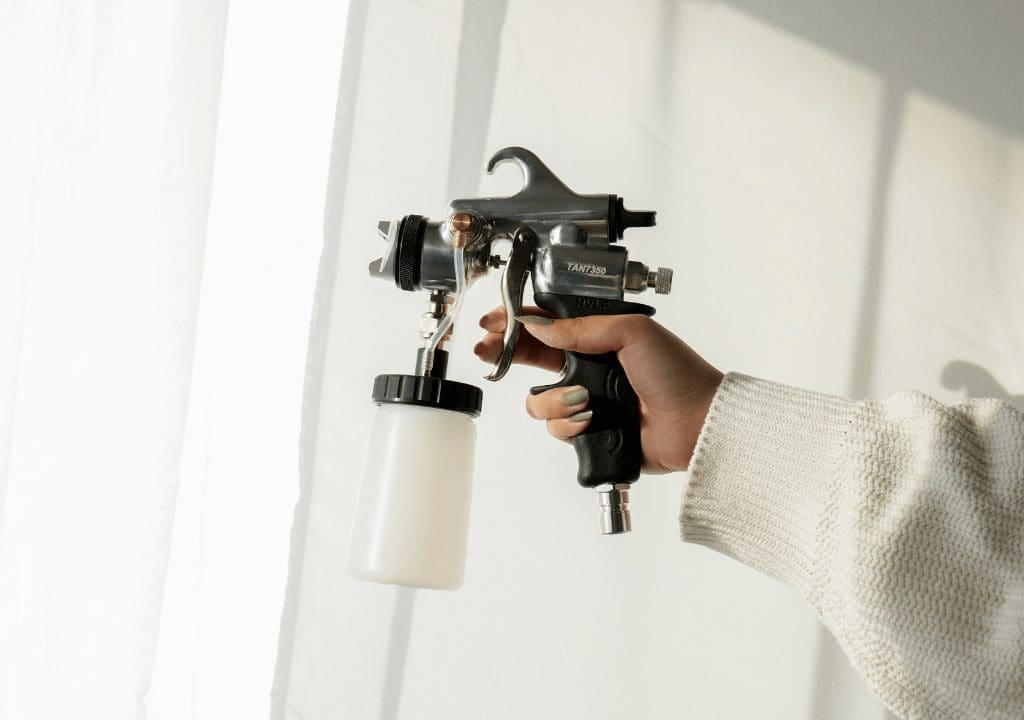
HOW TO CLEAN YOUR SPRAY TAN GUN
Your applicator is the one tool you touch on every single appointment. Almost every “my gun is spitting” or “it just stopped spraying” message we get traces back to dried solution somewhere inside it — and almost all of it is preventable with a two-minute habit.
This is the exact routine we teach: the daily rinse, the weekly flush, and the deep clean every 2–3 months — plus video tutorials for the Apollo T6000, Apollo T5020 and Fuji applicators, a troubleshooting section for clogs and sputtering, and a straight answer on DIY cleaners. It applies to any HVLP spray tan gun: Apollo, Fuji, MaxiMist, Norvell, Onyx, and our own X1 Pro and Cordless machines.
A Clean Gun Sprays Better and Lasts Longer
Sanitation is the obvious reason — clients notice a clean setup. But the practical reason is spray pattern. Solution that dries in the straw, needle or air cap narrows the path the mist travels through, and the result is a heavier, patchier tan and a gun that eventually stops mid-appointment. Cleaning is not maintenance on top of your work; it is what keeps the work consistent.
The Daily Clean — About Two Minutes
Do this between appointments when you can, and always at the end of the business day. Warm tap water is all you need.
- Remove the solution cup and pour out whatever is left.
- Flip the gun upside down and run warm tap water through the solution straw while holding the trigger. Keep going until the water sprays clear.
- Keep water out of the air feed tube. This is the one place water should never go — it is the path the turbine air travels, and moisture there causes sputtering.
- Rinse the solution cup and wipe the threads. Dried solution on the threads is what stops the cup sealing properly later.
- Air dry. Set the cup upside down on a clean paper towel and hang the gun by its top hook so nothing pools inside.
The Weekly Flush
Water handles the day-to-day, but solution build-up is sticky and water alone will not lift it over time. Once a week, fill the solution cup with about 100 mL of warm water and two capfuls of Sjolie Gun Cleaning Solution, turn the machine on, and spray the mixture into a towel until the cup is empty. The damp towel is perfect for wiping down your tent and machine afterward.
The Deep Clean
Every 2–3 months depending on your volume — the busier you are, the sooner. Taking the applicator apart looks intimidating the first time, which is exactly why we filmed it for each gun (videos below). What you will need:
- Sjolie Gun Cleaning Solution
- A small or medium soak tub
- The bristle brush that came with your applicator
- A clean paper or cloth towel
- A small wrench
- A pipe cleaner (optional, but handy for the straw)
Step by step
- Run cleaner through the gun first. Mix 2 parts Gun Cleaning Solution to 1 part warm water in the cup and spray it into a towel until empty. This loosens build-up before you disassemble.
- Disassemble following the video for your model — cup, air cap, needle and the parts your wrench reaches.
- Soak the parts in the same 2:1 mix. 20 minutes is enough for a gun that is cleaned regularly; give a neglected one the overnight soak.
- Brush and rinse. Use the bristle brush on the threads and passages, the pipe cleaner through the straw, then rinse everything in warm water.
- Dry completely. Every part, no exceptions. Overnight air-drying works; the air from your HVLP hose is faster.
- Reassemble and oil. Use only an oil made for air tools (any hardware store) — never household oil.
Cleaning Tutorials for Your Applicator
Filmed on the actual guns, start to finish. Tap a video to play it here.
 Apollo T6000 · Daily clean
 Apollo T6000 · Deep clean
 Apollo T5020 · Daily clean
 Apollo T5020 · Deep clean
 Fuji applicators · Deep clean
Using the X1 Pro or the Cordless machine? Their routines are simpler and live on the product pages.
Clogged, Spitting, or Not Spraying?
Three symptoms cover almost everything we get asked about. Work through them in order.
Intermittent or sputtering spray
Check the solution cup seal first — warped or damaged threads are the number-one cause and no cleaning will fix them. If the threads are fine, moisture in the air feed tube is the next suspect: let the gun dry fully, then run the weekly flush.
Weak output or no spray at all
This is dried solution in the straw or needle. Run the 2:1 flush; if it does not clear, it is time for the full deep clean and an overnight soak. A pipe cleaner through the straw usually finds the blockage.
Uneven, streaky or splattering pattern
Build-up on the air cap or needle tip disrupts the fan. Remove the air cap, soak and brush it, and check the needle tip for residue. Also confirm the flow setting has not been knocked — a pattern change right after cleaning is usually the adjustment, not the gun.
DIY Spray Tan Gun Cleaner: What Works and What Damages Your Gun
We get asked about homemade cleaners constantly, so here is where we land after years of seeing the guns that come back to us.
Warm water — yes
For the daily rinse, plain warm tap water is the right tool. It costs nothing and it is what we use ourselves between clients.
Dish soap — no
Dawn and similar soaps leave a film on the internal parts. That residue is one of the most common causes of clogging we diagnose. It feels clean; it is not.
Household solvents and vinegar — no
They are not formulated for the seals and finishes inside an HVLP applicator, and the risk is not worth the few dollars saved on a gun that costs hundreds.
An HVLP-formulated cleaner — yes
Sjolie Gun Cleaning Solution was built specifically for spray tan applicators: tough on DHA solution build-up, gentle on the equipment, and safe to run through the gun. One bottle covers months of weekly flushes and deep cleans.
Drying and Storage
After the daily clean, store the solution cup upside down so it drains and dries fully, and hang the gun by its top hook on a handle or a secure hanger rather than laying it on its side. Small habit; it prevents the moisture problems above from ever starting.
Spray Tan Gun Cleaning Questions
Do I need to clean the gun after every appointment?
Not a full clean, no. A quick warm-water rinse between clients is good practice when you have a minute, but the one that matters is the end-of-day rinse. Skip that and solution dries in the straw and needle overnight, which is where most clogs start.
Can I use Dawn or another dish soap on the parts?
We don’t advise it. Soaps leave a film behind on the internal parts, and that residue is one of the most common causes of clogging we see. Warm water for daily, and an HVLP-formulated cleaner for the weekly flush and deep clean.
How often should I do a full deep clean?
Every 2–3 months for a typical schedule. The higher your volume, the more often — a busy mobile artist doing several clients a day should lean toward the shorter end.
How long do the parts need to soak?
It depends on the build-up. Anywhere from 20 minutes to overnight in 2 parts Sjolie Gun Cleaning Solution to 1 part warm water. If the gun has been neglected, give it the overnight soak.
Can I use regular household oil on the gun?
No. Use an oil made for air tools — any hardware store carries it. Household oils can gum up over time and are not designed for the seals in an HVLP applicator.
Can I clean the gun with the Sjolie Multi-Surface Disinfectant?
No. The Multi-Surface Disinfectant is for hard surfaces — tents, tables, chairs. It is not formulated as a gun cleaner and should not be run through the applicator.
Do the parts really need to be completely dry before reassembly?
Yes, every part. Moisture trapped inside the gun leads to sputtering and, over time, corrosion. Air-dry overnight, or use the air from your HVLP hose to speed it up.
My gun still sputters after a deep clean. What now?
Check the solution cup threads first — warped or damaged threads break the seal and cause an intermittent spray no amount of cleaning fixes. If the threads look fine, email us at help@sjolieinc.com with your gun model and what you are seeing, and we will troubleshoot it with you and help you find the right replacement part.
We’ve got your back. If your gun is still misbehaving after a deep clean, reach out to your Sjolie rep or email help@sjolieinc.com — we’ll troubleshoot it with you and help you find the right replacement part.